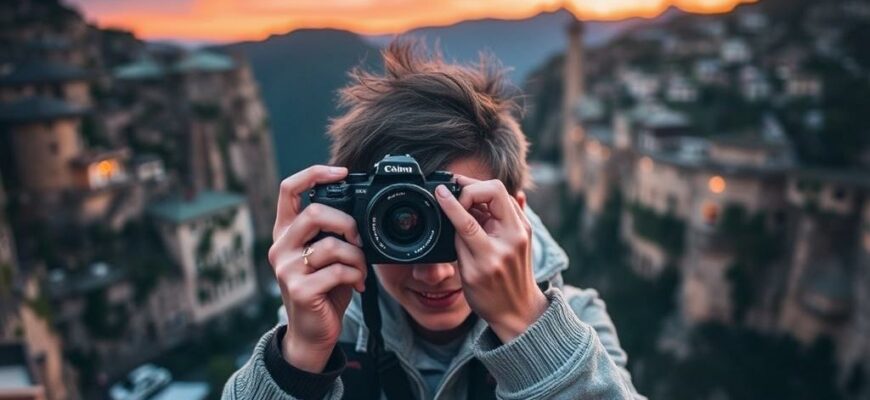
Traveling changes you. It stretches your perspective, fills your pockets with small souvenirs, and gives you memories that can fade with time unless you capture them thoughtfully. That’s where travel photography comes in — it’s not just taking pictures; it’s collecting moments, telling stories, and preserving sensations like the salty smell of a coastal market or the hush of a sunrise from a mountain ledge. Whether you’re a beginner with a smartphone or someone carrying a mirrorless camera, this guide will walk you through the mindset, the gear, the techniques, and the habits that help you shoot like a pro while still enjoying the journey.
Let’s be honest: technical skills matter, but the best travel photos come from curiosity, patience, and an eagerness to see the world differently. Over the next several sections we’ll cover practical camera settings, composition, light, lenses, post-processing, and how to cultivate a creative eye on the road. You’ll also find checklists and a handy table of quick-reference settings, so you can spend less time fiddling and more time exploring. Ready? Let’s begin.
Why travel photography matters
Travel photos do more than document locations. They capture the emotional arc of a trip—from the excitement of departure to a quiet moment of reflection under a foreign sky. Photos can serve as memory anchors, helping us recall not only the visual details but also the feelings, smells, and sounds associated with a place. A single photograph can transport you back to a moment and tell a story to friends and family.
For many travelers, photography is also a way to connect with locals and to slow down. When you focus on framing a shot, you begin to notice the small, human-scale details: the way an old man’s hands rest on a cane, the rhythm of a street vendor arranging oranges, or the fading colors of a mural. Those small details are often the most meaningful. Finally, travel photography can become a practice — a way to improve your visual literacy and to learn about light, composition, and storytelling in diverse environments.
Mindset over gear
You don’t need the most expensive camera to take powerful photos. A strong mindset will do more for your photography than a costly lens. This means staying curious, being patient, and practicing seeing. Before you worry about megapixels and apertures, cultivate the habit of looking. Notice patterns, shadows, lines, and repetition. Look for contrast — between old and new, light and dark, or motion and stillness.
Also, be prepared to make mistakes. Not every shot will be perfect, and that’s okay. Trial and error is one of the fastest ways to learn. The goal is to return from a trip with images that remind you why you traveled in the first place — not to stress about perfection. Treat each photo as a learning opportunity.
Choosing the right gear
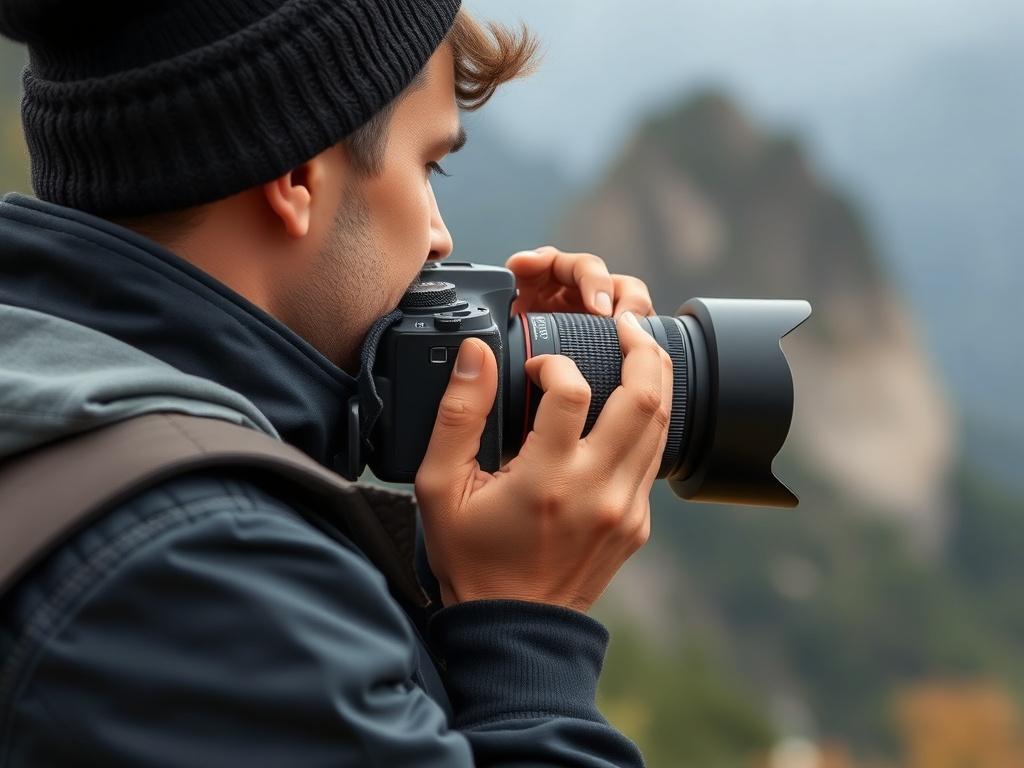
There are many choices for travel photographers: smartphones, compact cameras, mirrorless systems, and DSLRs. The best choice depends on your priorities: weight, image quality, zoom range, and how hands-on you want to be. Here’s a simple breakdown to help you pick:
Smartphones
Smartphones have come a long way. They’re lightweight, always at hand, and have powerful computational photography features like HDR, night mode, and portrait effects. If your goal is to share images quickly on social media or to keep travel light, your phone may be all you need. Learn to shoot in RAW when available, keep your lens clean, and use apps that allow manual control if you want more flexibility.
Compact cameras and point-and-shoots
A compact camera gives better image quality than most phones and can include optical zoom. They’re small and easy to carry, making them a good middle ground. Advanced compacts may offer manual controls and a larger sensor — useful for low-light situations.
Mirrorless and DSLR cameras
These systems offer the best image quality, lens flexibility, and control. Mirrorless cameras tend to be lighter and more compact than DSLRs, and they’re increasingly common among travel photographers. If you care deeply about image quality, print size, or low-light performance, a mirrorless camera or DSLR is a solid choice. Remember: with great image quality comes increased responsibility — to carry, protect, and maintain your gear.
Lenses and focal lengths: what to pack
Choosing lenses is often the hardest decision. The ideal setup balances versatility and weight. A typical travel kit might include a wide-angle lens for landscapes, a standard zoom for everyday use, and a telephoto for distant details. If you must limit yourself, here are common options:
| Lens | Focal Range | Use |
|---|---|---|
| Wide-angle | 14–35mm (full-frame equivalent) | Landscapes, architecture, environmental portraits |
| Standard zoom | 24–70mm | General travel, street, portraits |
| Telephoto zoom | 70–200mm | Details, wildlife, candid distant shots |
| Prime lens | 35mm or 50mm | Low light, portraits, creative shallow depth of field |
If you want to travel light, a single high-quality zoom like a 24–105mm or 24–70mm often covers most needs. A prime 35mm or 50mm is a great compact alternative for low-light and portraits. Consider the trade-off between lens weight and photographic opportunity.
Lens accessories
A circular polarizer is invaluable for deepening skies and reducing reflections on water or glass. Neutral density (ND) filters allow long exposures during daylight for silky waterfalls or motion blur in crowds. A UV or clear filter can protect the front element. Pack lens cleaning supplies: a blower, microfiber cloth, and cleaning solution.
Understanding the exposure triangle — simply
The basics of exposure come down to three elements: aperture, shutter speed, and ISO. Think of them as your three control knobs.
– Aperture controls depth of field — how much of the scene is in focus. A low f-number (f/1.8) makes backgrounds blur, isolating subjects. Higher numbers (f/8–f/16) keep more of the scene sharp, ideal for landscapes.
– Shutter speed controls motion. Fast shutter speeds freeze action; slow shutter speeds blur motion intentionally or cause camera shake. Use a tripod for long exposures.
– ISO controls sensor sensitivity to light. Higher ISO lets you shoot in darker conditions but adds noise.
A practical rule: keep ISO as low as possible for cleaner files, choose aperture based on the depth-of-field you want, and adjust shutter speed to properly expose the scene and to control motion. Modern cameras handle high ISO well, but knowing when to dial it up or down matters.
Composition: the heart of a great image
Technical control matters, but composition is what makes a photo compelling. Good composition guides the viewer’s eye and enhances the story you’re trying to tell. Here are practical compositional tools:
- Rule of thirds: Imagine a 3×3 grid and place subjects on intersections for balanced framing.
- Leading lines: Use roads, fences, or rivers to guide the eye into the frame.
- Framing: Use doorways, arches, or branches to frame your subject and add depth.
- Fill the frame: Move closer to your subject to remove distracting elements.
- Negative space: Give subjects breathing room to create mood and focus.
- Symmetry and patterns: Use symmetry for calm, patterns for texture, and break patterns for emphasis.
Don’t feel trapped by rules. Learn them, then break them intentionally. Composition also includes how you place people within landscapes, how you balance foreground and background elements, and how you use light to shape form.
Light: how to see and use it
Light is the single most important element in photography. The same scene can feel magical at golden hour and flat at midday. Learn how light affects mood and texture and make prompts a habit: What time is the sun? Where does light fall? Is it hard or soft?
Golden hour — the hour after sunrise and before sunset — provides warm, low-angle light that flatters landscapes and architecture. Blue hour — shortly after sunset or before sunrise — offers a cool, subtle light perfect for cityscapes and reflections.
Midday sun can be harsh, creating strong shadows and highlights. Use shade to soften light on portraits, or embrace the drama of high-contrast scenes for bold black-and-white images. Backlighting can create silhouettes or rim light; front lighting shows detail. Learn to move relative to the sun to see what works best for each scene.
Shooting people and portraits
People give scale and emotion to travel photos. But photographing strangers requires tact, respect, and sometimes permission. When possible, make eye contact, smile, and use a few local phrases to explain what you’re doing. Offer to show the photo — this small exchange often brings smiles and sometimes invitations to photograph more.
Technical tips: shoot at a moderate aperture like f/2.8–f/5.6 for environmental portraits where you want both the person and background to be recognizable. For close-up portraits, a wider aperture (f/1.8–f/2.8) isolates the subject and creates creamy backgrounds. Focus on the eyes, and engage your subject to capture natural expressions.
Cultural sensitivity is crucial. Some communities have religious or cultural restrictions about being photographed. Learn a few phrases in the local language to ask for permission, carry small printed photos to offer as proof of good intentions, and when in doubt, ask.
Street photography: capture candid life
Street photography is about observing and reacting quickly. The goal is to capture candid moments that reveal something true about a place. To get better at it, walk slowly and look for small stories: a vendor arranging goods, a passenger reading, a child chasing pigeons.
Practical tips: use a fast shutter speed (1/250s or faster) for sharp candid shots, and consider a discreet camera setup to avoid intimidating subjects. Prime lenses like 35mm or 50mm are popular because they mimic how we naturally perceive the scene. Anticipate actions and be ready to shoot a burst of frames to increase your chances of getting the decisive moment.
Remember legal and ethical concerns: in many countries photographing people in public is legal, but local attitudes vary. Respect people’s wishes and be mindful of sensitive subjects.
Landscapes and panoramas
Landscape photography thrives on patience and planning. Scout the scene, look for interesting foreground elements (rocks, driftwood, flowers) to anchor the image, and use a tripod for sharpness. A small aperture like f/8–f/16 gives more depth of field, and focusing a third of the way into the scene often yields maximum sharpness from front to back.
For wide vistas, experiment with panoramic stitching: shoot overlapping frames and merge them in post-processing for high-resolution images. Use a tripod and consistent exposure across frames to simplify stitching. ND filters let you use longer shutter speeds for smoothing water or clouds, adding a sense of motion to otherwise static scenes.
Night and low-light photography
Night photography opens up new creative possibilities: neon-lit streets, fireworks, star-filled skies. The key is stability and exposure control. Use a tripod for long exposures, switch to manual mode, and start with a shutter speed that suits the scene — for cityscapes, 1–10 seconds can capture light trails and reflections; for stars, the 500 rule (500 divided by focal length) helps determine the longest exposure before stars streak.
If shooting handheld in low light, increase ISO but be aware of noise. Modern cameras and noise-reduction software handle high ISO better than ever. For star photography, use a wide aperture and a high ISO, and focus to infinity carefully.
Motion: freezing and conveying movement
Motion adds drama. To freeze action — like a bird in flight or a cyclist — use a fast shutter speed (1/1000s or faster as necessary). To convey motion, use slower shutter speeds to blur moving subjects while keeping a sharp background or vice versa. Panning (tracking a moving subject with a slower shutter speed, around 1/30–1/125s depending on speed) creates a sense of speed as the background blurs.
Experiment with slow shutter speeds for creative effects: silky waterfalls, cloud streaks, or ghosting crowds in crowded tourist spots to emphasize movement.
Organize, back up, and protect your work
A day of great shooting can be ruined by lost or corrupted files. Protect your images from the start. Here’s a reliable workflow:
- Always carry a second memory card and a spare battery.
- Back up photos daily to an external drive or cloud service.
- Consider a portable backup device (like a battery-powered drive) when traveling without a laptop.
- Use clear folder and file naming conventions, including date and location, to make retrieval simple.
- Make two backups at minimum: one local and one off-site or cloud-based.
A simple habit: at the end of each day, transfer that day’s files and verify the backup before formatting the card. This avoids accidental data loss and gives you immediate access to edit or share favorites.
Editing workflow: enhance, don’t overcook
Editing is where your photos go from good to great, but restraint is crucial. Start by culling: remove duplicates and poor exposures. Then apply basic adjustments: white balance, exposure, contrast, and slight sharpening. Crop to improve composition, straighten horizons, and remove distractions.
Non-destructive editors like Lightroom preserve the original file. Shoot RAW when possible — it gives you more latitude in editing color and exposure. For global edits, modest adjustments often look best; for local edits, use selective tools to draw attention to your subject.
Avoid heavy filters that remove the uniqueness of a scene. The aim is to enhance your memory of the place, not to create a false version of it. Save multiple export versions: high-quality TIFFs or high-res JPEGs for printing, and compressed JPEGs for quick sharing.
Storytelling: sequencing your images
A single great photo can stand alone, but a sequence tells a fuller story. Think in narrative arcs: arrival, exploration, close-ups of people, details, and a reflective ending. When you share images in a gallery or trip report, order them in a way that takes the viewer through the experience—start with a wide establishing shot, move into details and portraits, and finish with a scene that leaves an impression.
Consider variety in focal lengths, perspectives, and color. Alternate wide and tight shots to keep viewers engaged. A final image that is reflective or quiet often makes a satisfying conclusion.
Printing, sharing, and copyright
Digital files are great, but prints are tactile and lasting. Choose a reputable lab for prints, and consider printing on different papers to see what suits your style. Matte finishes can feel more classic; glossy papers pop colors but show reflections. For special shots, consider larger prints or even framing a series.
When sharing online, preserve copyrights by embedding metadata and adding subtle watermarks if you plan to license images. Respect the platform’s terms and avoid uploading full-resolution files when unnecessary. If you intend to sell or license images, register critical images where the legal system in your country allows it.
Common mistakes and how to avoid them
Everyone learns by doing, and mistakes are part of that process. Here are common pitfalls and quick fixes:
- Overpacking gear: bring fewer lenses and know how to use them well.
- Obsessing over perfect exposure: bracket when necessary, and remember you can recover some detail in RAW files.
- Ignoring batteries and storage: carry spares and a charging plan.
- Not learning the local customs: research photography etiquette and legal issues before shooting people or cultural sites.
- Staying on the beaten path: try varied times of day or less popular angles for unique shots.
Practical packing checklist
Below is a practical checklist to keep you organized and ready for any photographic opportunity on the road.
| Essentials | Optional but useful | Backup & safety |
|---|---|---|
| Camera body (or smartphone) | Extra lenses (wide and standard) | Extra batteries |
| Chargers and cables | Tripod (travel-sized) | Extra memory cards |
| Cleaning kit (blower, cloth) | Polarizer / ND filters | Portable backup drive |
| Protective camera bag | Remote shutter release | Insurance and gear receipts stored digitally |
| Smartphone with mapping apps | Compact reflector | Waterproof protection (covers, dry bags) |
Safety, ethics, and cultural sensitivity
Travel photography intersects with privacy and safety. Be aware of local laws about photography in airports, government buildings, or cultural sites. Some countries restrict taking photos of people or events. When photographing people, especially children or religious ceremonies, ask for permission when possible and be respectful of refusals.
Personal safety matters too. Don’t expose expensive gear in risky neighborhoods. Keep a low profile with a simple camera strap or bag, and consider travel insurance that covers theft or damage. When entering fragile natural environments, practice leave-no-trace ethics: don’t trample plants or disturb wildlife for a better shot.
Advanced tips: developing your creative voice
As you gain confidence, push your boundaries. Try projects like shooting in a single color palette, documenting a local craft over several days, or returning to the same spot at different times to compare light. Personal projects build a coherent body of work and hone your style.
Study photographers you admire. Reverse-engineer their images: what lens might they have used? What time of day? What story do they tell? But don’t copy; use these studies as a springboard to your own unique voice.
Try limitations: shoot with one lens for a week, or only capture monochrome images. Limitations force creativity and teach resourcefulness.
Quick-reference camera settings table
Here’s a simple table of starting settings for common travel scenarios. Adjust according to your camera, lens, and artistic intent.
| Scenario | Aperture | Shutter Speed | ISO | Notes |
|---|---|---|---|---|
| Landscape (tripod) | f/8–f/16 | 1/30s–several seconds | 100–200 | Use tripod and low ISO for sharp, deep-focus images |
| Street / candid | f/4–f/8 | 1/250s or faster | 200–800 | Fast shutter to freeze motion, focus on the eyes |
| Portraits (environmental) | f/2.8–f/5.6 | 1/125–1/500s | 100–400 | Balance subject and background; focus on eyes |
| Night cityscape | f/8–f/11 | 5–30s | 100–400 | Use tripod, remote shutter, and mirror lock if available |
| Low-light handheld | widest practical aperture | 1/60–1/250s | 800–3200+ | Increase ISO, stabilize body, enable image stabilization |
How to practice while traveling without missing out
It’s easy to get so focused on taking photos that you miss the experience. Balance shooting with being present. Try allocating specific windows for photography and windows for simply experiencing the place. For example, wake for sunrise shoots but take the rest of the morning to enjoy breakfast with no camera. Or assign one day of a trip as “no camera day” to live without the lens between you and the world.
Practice also away from trips. Set up small local projects: shoot your neighborhood at different times, photograph a daily routine, or document a market trip. Regular, small practices sharpen your eye and make you more efficient on the road.
Sharing responsibly and building an audience
If you want to share your work, choose platforms that match your goals. Instagram offers fast feedback and a broad audience, while a personal website or portfolio provides a curated space for longer-term projects. When growing an audience, consistency and a clear visual voice help. Share behind-the-scenes stories and provide context that deepens the viewer’s connection to your images.
Engage with communities: comment on other photographers’ work, participate in photo walks, or join online critique groups. Constructive feedback accelerates growth.
Travel photography for storytelling and long-term projects
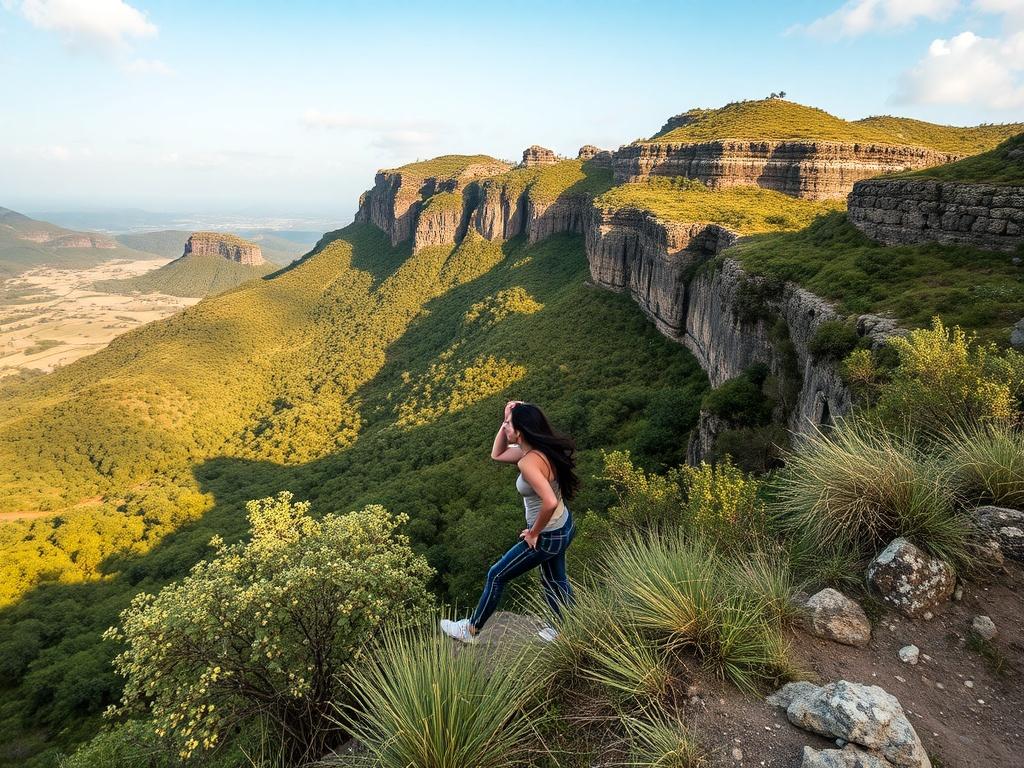
If you’re serious about storytelling, think beyond single images. Long-term projects that explore a theme — such as migration, local crafts, or seasonal issues — deepen your understanding of a place and can produce work for exhibitions, publications, or books. These projects require research, building relationships, and time. They are less about quick snapshots and more about trust and consistency.
Approach such projects with humility. Listen first, observe, and gain permission to document. The resulting images will be richer and more respectful.
Final practical tips
– Scout locations in advance using maps and photography apps that show sun position and weather.
– Keep a small notebook or notes app to jot down ideas and locations you discover.
– Always carry a lightweight, weatherproof cover for sudden rain or sandstorms.
– Learn basic repairs like changing a lens in dusty environments and how to dry moisture quickly if gear gets wet.
– Make friends with a local guide or photographer — they offer insight and access you might not get alone.
Conclusion
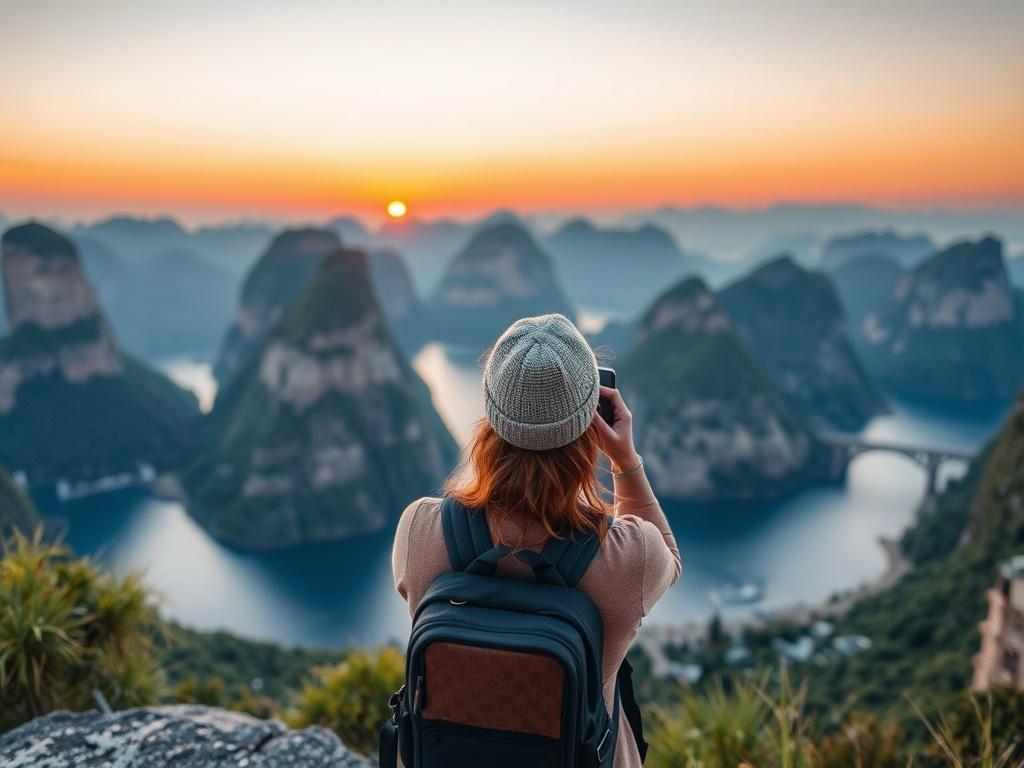
Travel photography is a wonderful way to deepen your experience of the world: it trains you to see, to be patient, and to listen with your eyes. With a mix of preparation, curiosity, and respectful practice, you can capture meaningful images that preserve not just places, but the feelings that made those places special. Remember that the best gear is the one you’ll carry, that light and composition matter more than megapixels, and that photographing people is as much about connection as it is about technical skill. Take the time to back up your work, edit thoughtfully, and tell stories with sequences rather than isolated images. Above all, enjoy the process — the memories you capture will become the photos you cherish.

